Newer style CVX-18 dash.


Dimensions / Measurement PDF.
https://onedrive.live.com/?cid=73B35DCCEE7781EF&id=73B35DCCEE7781EF%2137163&parId=73B35DCCEE7781EF%21105&o=OneUpDiMax fabricators: This machine fabricator in central Minnesota CNC cut the clear polycarbonate dashboard blanks for my project. I had to get 5 pieces, the yield from a sheet of the material. I think they could do a good job replicating windshields, and if you ordered parts to use a whole sheet, It would be about $125 each assuming they can get 3 from a sheet. That would be using 1/4" clear polycarbonate. I think polycarbonate is more flexible, not as brittle but scratches easier. 1/4" plexiglass would be maybe a little less $.
http://www.dimaxcorp.com/ 
**********************************************
CVX/CVZ Seat Pedestal
Pictures of the pedestal from my CVX. They do tilt back. Are they the same as the ones in a CVZ?
Not a good view of the tape measure.
Anyway it's 4 3/4in. at the center, 4 1/2 in. at the rear and 5 in. at the front
The base is 7 1/2in. wide and 10 in. long.
The top (were the seat mounts) is 6 1/4 in. square.
******************
CVX console ...


[/URL]
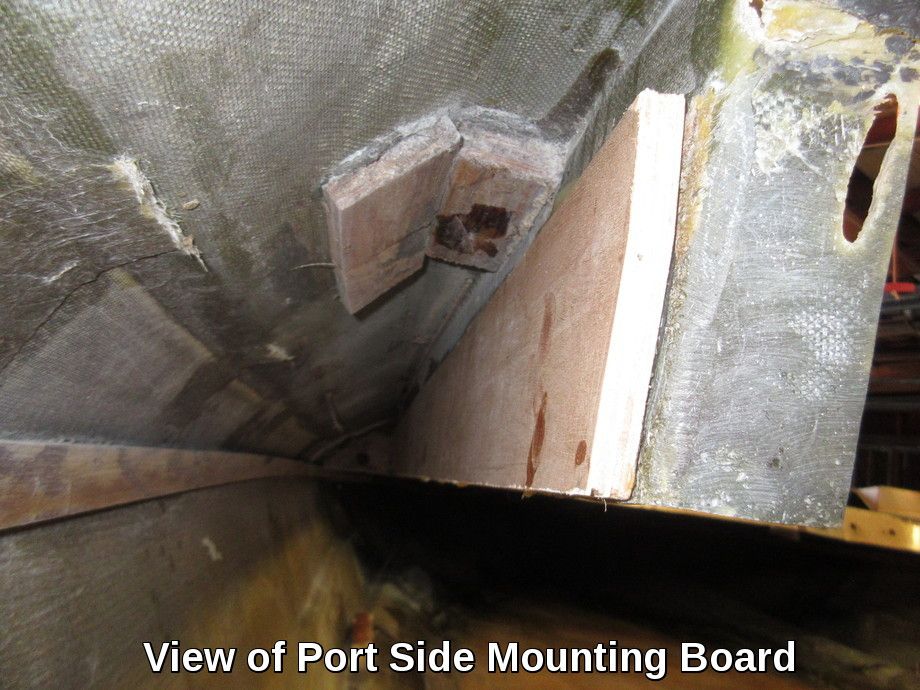
Rear of Trim Panel. The lower trim panel material is wrapped over the bottom of the deck and stapled to the 1/2"mounting board behind the deck.
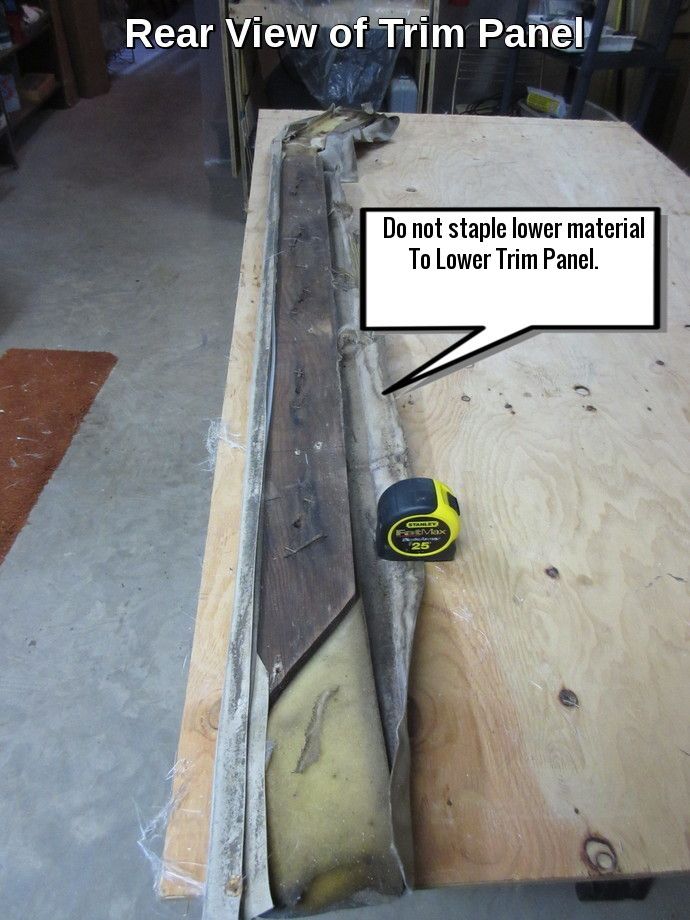
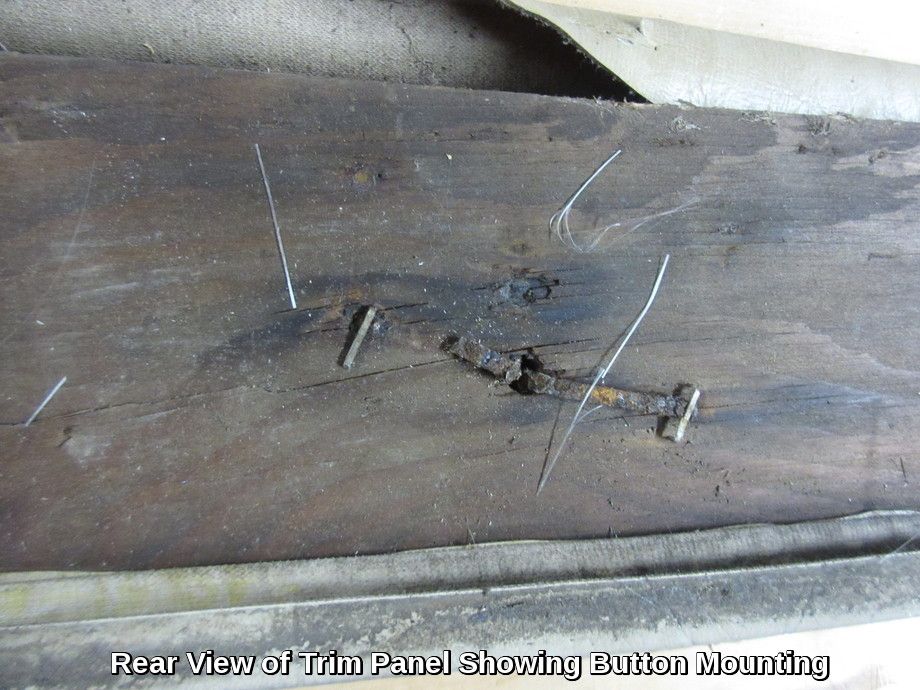
The factory buttons were fastened with a metal strip stapled to the trim panel board. Replacement buttons will use thread or string.
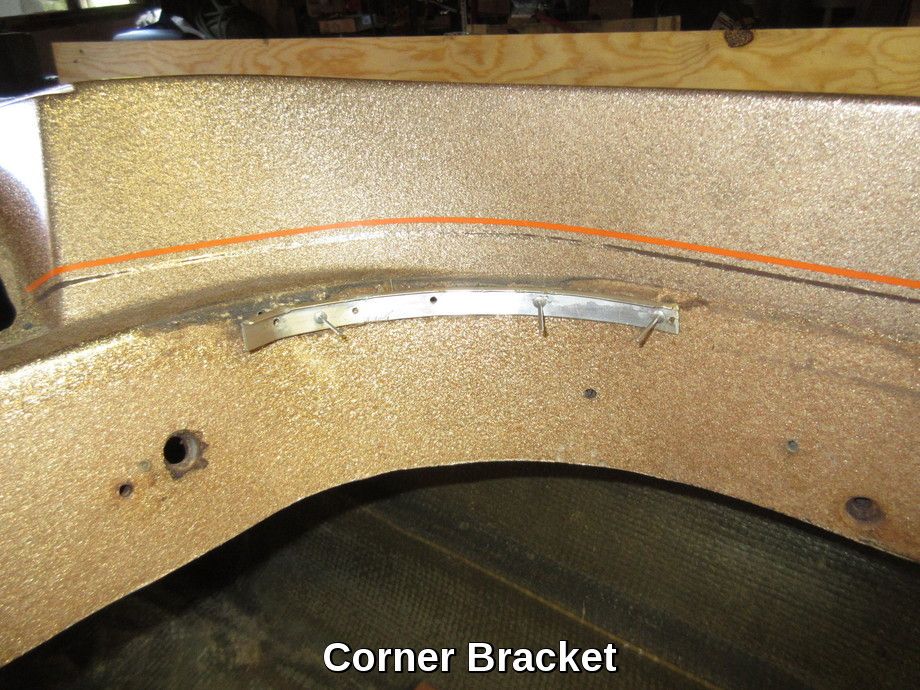
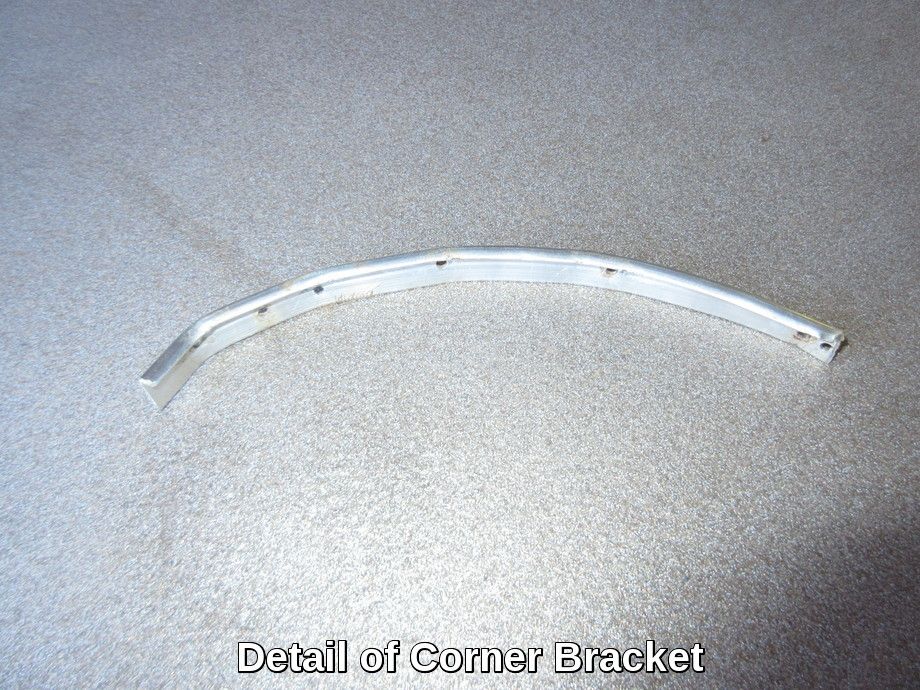
The material in the corners is secures with metal brackets. Mine were riveted to the deck.
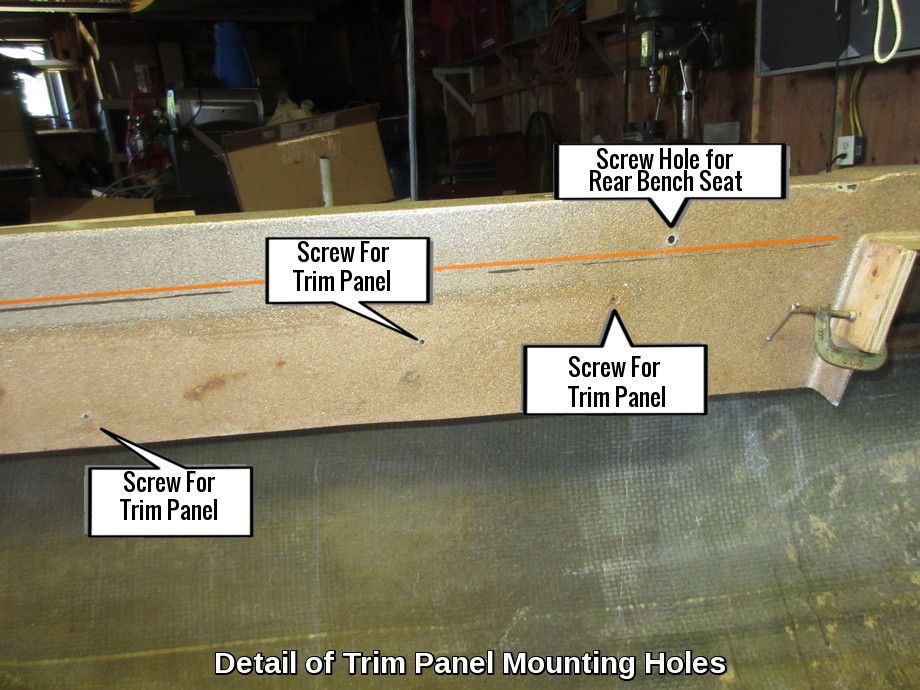
The screw holes are about 1in. above the bottom of the board. You can position your trim panel with the vinyl attached to the top, clamp it to the deck and drill through the existing holes from the back side or just drill new holes. This is why the vinyl is not stapled to the lower back of the trim panel. With panel in place screw it to the backing board and then pull the lower vinyl over the deck and staple it to the backing board behind the fiberglass.